As someone who loves home decor and DIY projects, I know how important a headboard can be in transforming a bedroom. A well-designed headboard not only enhances the aesthetics of your space but also adds comfort and personality. However, buying a new headboard can be expensive, which is why I’ve explored multiple diy headboard for bed over the years. If you’re looking for homemade headboard ideas, you’re in the right place!
In this guide, I’ll share step-by-step instructions on how to make a DIY headboard for bed that’s both stylish and budget-friendly. Whether you prefer a DIY upholstered headboard, a wooden headboard DIY, or a wall-mounted option, this post will help you craft the perfect piece.
Why a DIY Headboard is the Best Choice?
When I moved into my first apartment, I couldn’t afford an expensive headboard, so I decided to make one myself. What started as a necessity soon became a passion! Here’s why you should consider making your own headboard:
- Cost-Effective: A homemade headboard can cost a fraction of what you’d pay at a store.
- Customization: You can choose colors, materials, and styles that match your decor.
- Fun DIY Project: It’s a rewarding experience to create something with your hands.
- Sustainable: Reusing materials like plywood or pallets makes it an eco-friendly option.
- Easy Maintenance: Unlike store-bought options, a DIY headboard can be easily repaired or altered.
- Aesthetic Appeal: A unique headboard can be a conversation starter and focal point in your bedroom.
- Adds Comfort: An upholstered headboard provides added back support when sitting in bed.
- Improves Sleep Environment: A beautifully designed bedroom can positively impact relaxation and sleep quality.
Step-by-Step Guide to Making a DIY Headboard

1. Choose Your Headboard Style
Before you start, decide which type of headboard suits your bedroom. Here are a few popular options:
- Upholstered Headboard (cozy and elegant)
- Wooden Headboard (rustic and timeless)
- Plywood Headboard (minimalist and modern)
- Wall-Mounted Headboard (space-saving and sleek)
- Fabric Panel Headboard (chic and soft)
- Reclaimed Wood Headboard (eco-friendly and vintage)
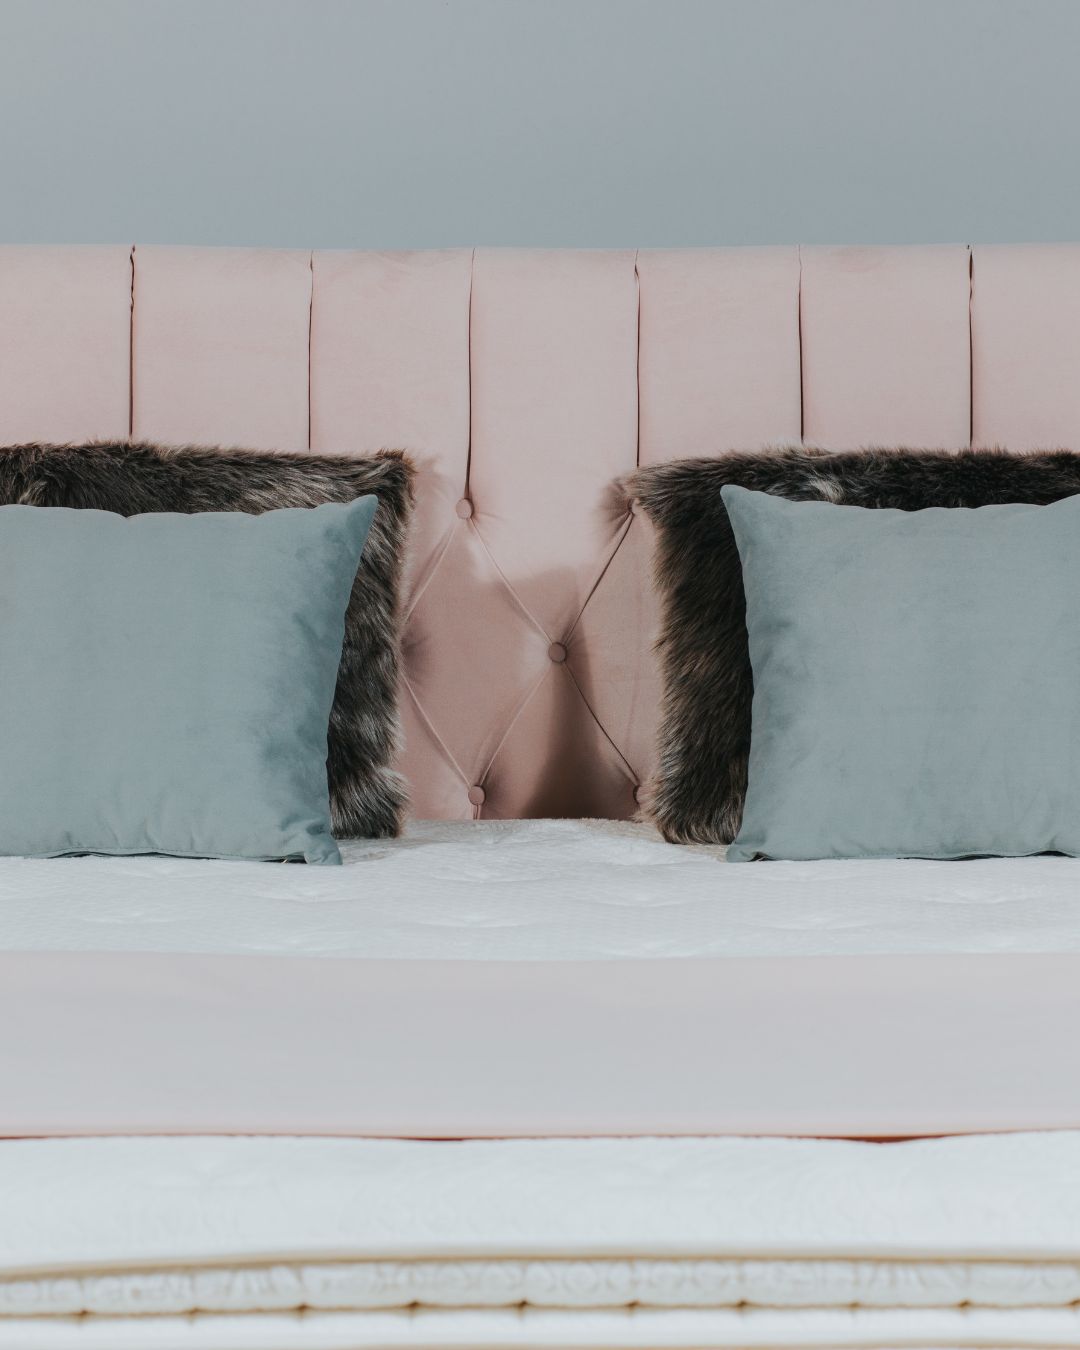
- Tufted Headboard (luxurious and stylish)
- Metal Headboard (industrial and contemporary)
- Bookcase Headboard (functional and stylish)
- LED-Lit Headboard (modern and ambient)
2. Gather Your Materials
Depending on the headboard style, you’ll need the following materials:
- Plywood – for a sturdy base (Recommended: ½-inch thick)
- Foam Padding – for comfort (if making an upholstered headboard)
- Fabric of Your Choice – for a soft, stylish finish
- Staple Gun – to secure the fabric
- Bed Frame Attachment – to fix it to your bed
- Paint or Stain – for a wooden finish
- DIY Tools – measuring tape, saw, drill, screws, and glue
- Buttons and Needle – for a tufted look
- Wooden Planks – for a rustic feel
- LED Strip Lights – for ambient lighting
- Brackets and Anchors – for wall mounting
- Bookcase Units or Floating Shelves – for storage-integrated headboards
3. Measure and Cut the Headboard
- Measure the width of your bed frame and mark it on the plywood.
- Use a saw to cut the plywood to the desired dimensions.
- If making a tufted headboard, mark spots for buttons before cutting.
- Sand the edges to ensure a smooth finish.
- If you prefer an oversized headboard, extend it beyond the bed width for a grand look.
- For a bookcase headboard, plan shelf placement before cutting.
4. Assemble the Headboard
For Upholstered Headboard:
- Place the foam padding over the plywood.
- Cover it with fabric, making sure to pull it tight.
- Use a staple gun to secure the fabric at the back.
- For a tufted look, use a needle and thread to sew through the foam and attach buttons.
For Wooden Headboard:
- Sand the plywood or wooden planks to smooth the surface.
- Apply paint or stain to match your decor.
- Let it dry completely before assembling.
- Attach the planks together with screws and brackets.
5. Install the Headboard
You have two installation options:
- Bed Frame Attachment: Secure the headboard to the bed frame using brackets.
- Wall-Mounted Headboard: Drill holes in the wall and mount the headboard using screws and anchors.
- Floating Headboard: Attach it to a wooden frame and mount it behind the bed for a floating effect.
- LED-Lit Headboard: Attach LED strips behind or around the frame for an ambient glow.
- Bookcase Headboard: Secure bookcase units behind the bed frame for built-in storage.
FAQs
1. What is the easiest DIY headboard to make?
A fabric-covered plywood headboard is one of the simplest and quickest options, requiring minimal tools and effort.
2. How much does it cost to make a DIY headboard?
Costs vary depending on materials, but a basic DIY headboard can be made for as little as $30-$100.
3. How do I attach a DIY headboard to my bed frame?
Use a bed frame attachment kit or brackets to secure it. Alternatively, you can mount it directly to the wall.
4. Can I make a headboard without woodworking experience?
Yes! Upholstered and wall-mounted headboards require minimal woodworking skills.
5. What are some creative materials I can use for a DIY headboard?
Consider using reclaimed wood, old doors, fabric panels, macrame, or even large artwork for a unique touch.
Final Thoughts
A DIY headboard for bed is an excellent way to personalize your bedroom while saving money. Whether you choose a wooden headboard DIY or a DIY upholstered headboard, the options are endless. Get creative and enjoy the process of making a headboard that suits your style!