
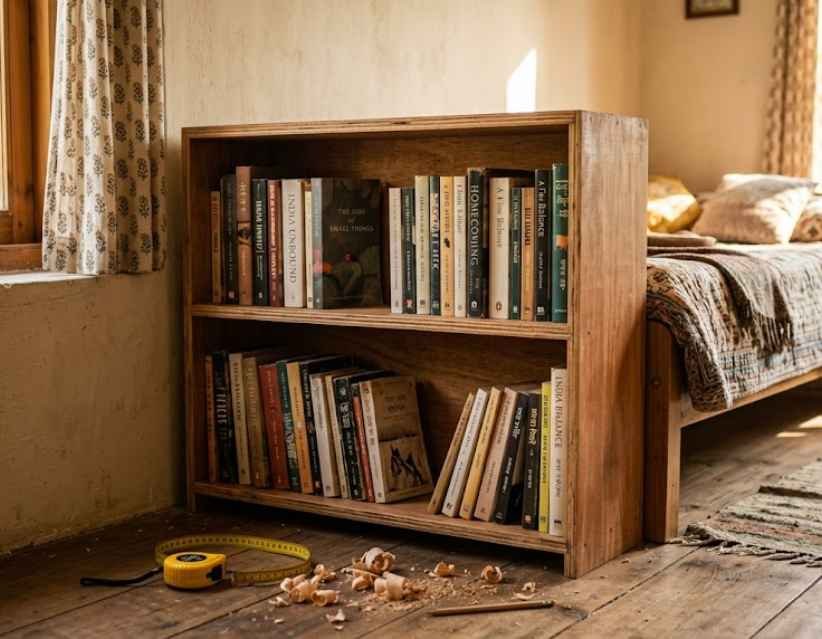
Last month I finally ran out of space for my books. They were stacked on the floor, balanced on my study table, and honestly starting to take over my room. Buying a ready-made bookshelf felt like an easy fix, but most of the ones I liked in Jaipur were either too expensive or too big for my small room. So I decided to figure out how to build a bookshelf myself, with basic tools and plywood I could get from a local shop.
If you are in the same spot, wondering how to make a bookshelf without spending a fortune or hiring a carpenter for every little thing, this guide walks you through exactly what I did. You will find the materials, the measurements, a simple cut list, and the full step-by-step process, along with a few things I wish someone had told me before I started.
What You Need to Build a Bookshelf
Before you touch a single plank, it helps to lay everything out. I learned this the hard way after making two trips back to the hardware store because I forgot wood glue and sandpaper.
Materials for a DIY Bookshelf
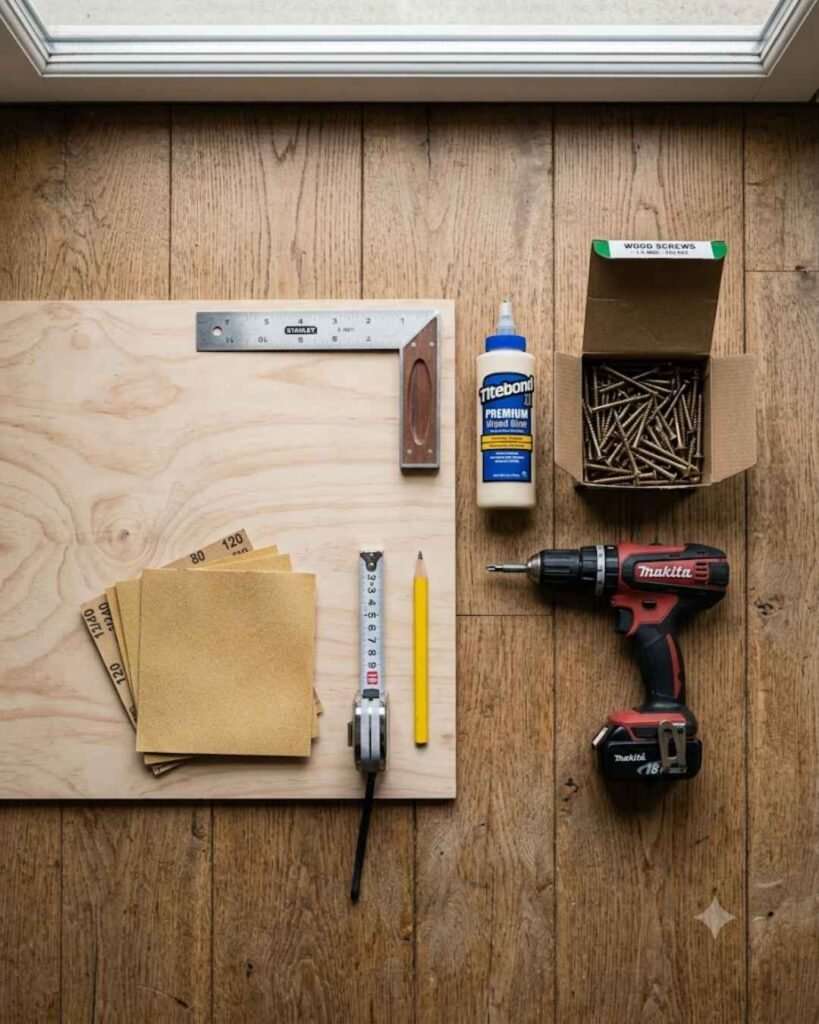
- Plywood or solid wood panels
- Wood glue
- Screws
- Shelf pins or L-brackets
- A thin back panel (plywood or hardboard)
- Sandpaper (medium and fine grit)
- Paint, polish, or wood finish of your choice
- Edge banding tape for exposed plywood edges
Tools You Will Need
- Measuring tape
- Pencil
- Try square
- Power drill
- Saw (or a plywood shop that cuts to size)
- Spirit level
- Clamps
If you do not own a saw, do not worry. Most local plywood shops will cut your panels to size for a small fee if you give them accurate measurements. That alone makes this project doable even without a full workshop at home.
Choosing the Right Material to Build a Wooden Bookshelf
This is where a lot of first-time builders get stuck, and I was no different. There are three common options, and each works better depending on your room and your books.
Plywood
Plywood is the most practical choice for anyone learning how to build a wooden bookshelf. It comes in stable, flat sheets, holds screws well, and can be painted or laminated to match your room. The only downside is that the edges look raw once cut, so you will need to sand and finish them, or use edge banding tape for a cleaner look.
In India, plywood is usually graded as MR, BWR, or BWP based on how much moisture it can handle. MR (moisture resistant) plywood works fine for most indoor bookshelves kept away from windows and damp walls. BWR and BWP are more water resistant and cost more, so you do not need to buy the priciest sheet unless your room genuinely gets humid.
Solid Wood
Solid wood gives a warmer, more natural look and tends to last longer. It is heavier to work with and usually costs more than plywood, so it makes sense if you want a statement piece rather than a simple storage shelf.
MDF
MDF is smooth and easy to paint, but it does not handle moisture well. I would avoid it for a bookshelf placed near a window or in a room that gets humid during the monsoon.
Deciding the Right Bookshelf Size for Your Room
Before cutting anything, measure the actual space where the bookshelf will go, including any skirting or trim along the wall. For a beginner-friendly, freestanding bookshelf, a common size range is:
- Height: 150 to 180 cm
- Width: 70 to 90 cm
- Depth: 25 to 30 cm
- Shelf clearance: roughly 28 to 35 cm between shelves
These numbers are a starting point, not a rule. If you collect larger hardcover books or have a narrower wall, adjust the depth and width accordingly. I ended up going slightly deeper than the standard size because a few of my books simply would not fit otherwise.
A Simple Cut List for Your DIY Bookshelf
Once your measurements are locked in, write out a cut list so the plywood shop or you can cut everything in one go. Here is the example list I used for a medium-sized shelf:
- Two side panels, 180 cm by 30 cm
- One top panel, 86 cm by 30 cm
- One bottom panel, 86 cm by 30 cm
- Four to five shelves, 86 cm by 28 to 30 cm
- One back panel, sized to fit the finished frame
Keep in mind that your final shelf width depends on the thickness of your side panels, so measure again after the side panels are cut, not before.
How to Build a Bookshelf Step by Step
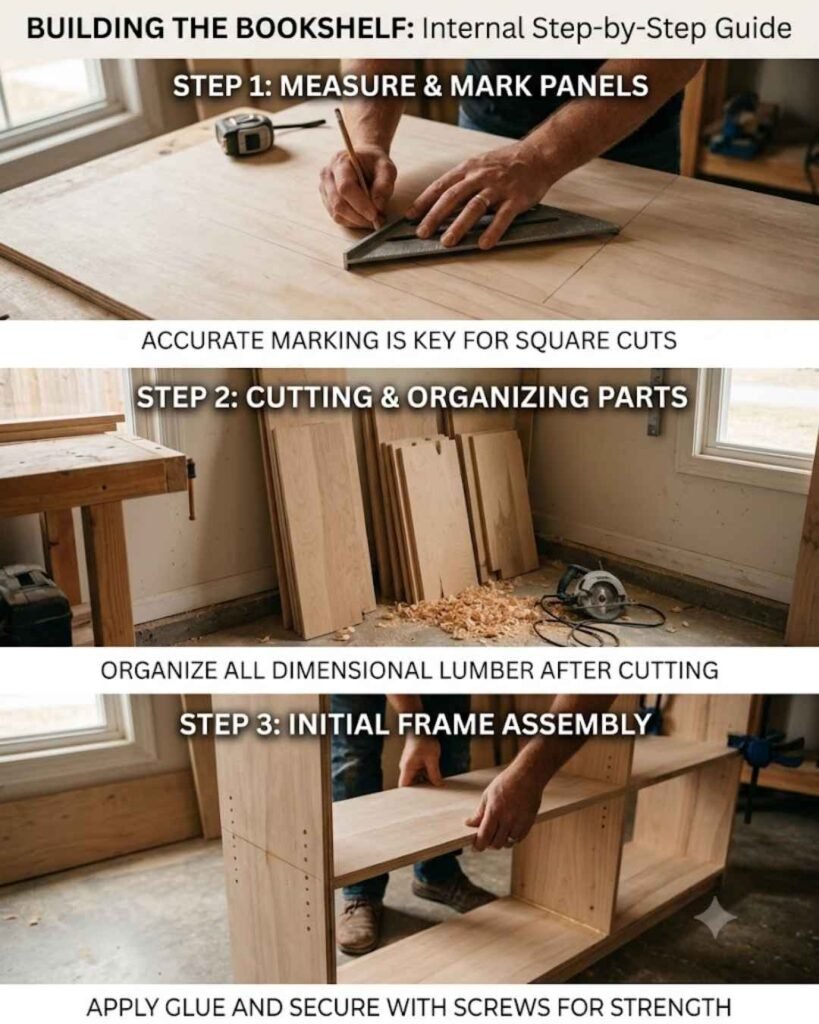
This is the part most people are actually searching for, so here is exactly how the build goes from start to finish.
Step 1: Measure and mark. Double check your wall space and mark your cut lines clearly on the plywood before anything is cut. I measured twice for every panel after my first attempt came out slightly uneven.
Step 2: Cut the panels. Use your cut list to get the side panels, top, bottom, shelves, and back panel cut to size, either with your own saw or at a plywood shop.
Step 3: Sand the rough edges. Run sandpaper along every cut edge to remove splinters. This also helps paint or polish go on smoothly later.
Step 4: Assemble the two sides. Attach the top and bottom panels to the side panels using wood glue and screws. Use clamps to hold everything steady while the glue sets.
Step 5: Check that the frame is square. Use your try square at each corner. A frame that is even slightly off will make every shelf sit crooked later.
Step 6: Mark shelf positions. Decide your shelf spacing and mark it clearly on the inside of both side panels so the shelves line up evenly.
Step 7: Install the shelves. Attach shelf pins or L-brackets at your marked positions, then slide the shelves in and secure them.
Step 8: Add the back panel. This thin panel is not just decorative. It keeps the whole bookshelf from wobbling or leaning over time, so do not skip it.
Step 9: Sand and apply your finish. Give the entire piece a final sanding, wipe off the dust, and apply paint, polish, or wood finish based on the look you want.
Step 10: Anchor the bookshelf to the wall. For any tall, freestanding unit, use anti-tip wall anchors, especially if you have young children or pets at home. This single step matters more than most people realise.
Once the finish dries, load your books in gradually rather than all at once, so you can check that every shelf is holding weight evenly.
How to Make a Bookshelf Without Power Tools
You genuinely do not need a full toolkit to pull this off. Here is how to simplify the process:
- Ask your local plywood shop to make all the straight cuts for you
- Use a hand drill instead of a power drill for basic assembly
- Stick to a simple butt-joint design rather than complicated joinery
- Buy pre-cut boards where available to cut down on manual work
This approach worked well for me since I do not own a full set of power tools, and the plywood shop near my house did most of the heavy cutting in under an hour.
How Much Does It Cost to Build a Bookshelf in India?
There is no single fixed number here, since cost depends on your city, the material you pick, panel thickness, size, and finish. That said, it helps to break the cost into parts:
- Plywood or wood cost, based on the sheet size and grade
- Hardware, including screws, brackets, and wall anchors
- Cutting charges, if you are not cutting the panels yourself
- Finishing materials such as paint, polish, or edge banding tape
- Labour, if you hire help for any part of the assembly
Building your own bookshelf usually works out cheaper than buying a similar ready-made piece, mainly because you are only paying for material and cutting rather than full retail markup.
How to Paint and Finish Your DIY Bookshelf
Once the shelf is assembled and sanded, apply a primer coat if you plan to paint it, followed by two thin coats of paint or wood polish rather than one thick one. Finish the exposed edges with edge banding tape for a neater, shop-bought look. If you enjoy home improvement projects like this one, you might also like reading about the 7 day healthy eating plan I follow, since keeping a routine for small home projects works the same way as keeping one for daily habits.
Keeping Your Bookshelf Safe and Sturdy
A wobbly bookshelf is usually the result of a few avoidable mistakes. Keep these in mind:
- Make sure the frame is square before the glue sets
- Use strong shelf supports, not just glue alone
- Avoid shelf spans wider than about 90 cm without extra support, since long shelves sag under heavy books
- Spread heavier books across shelves instead of stacking them all on one
- Always use anti-tip hardware for tall, freestanding units
- Secure the shelf to a wall stud or solid wall material, not just plaster
DIY Bookshelf Ideas for Indian Homes
Once you have the basic build down, you can adapt the same steps into different styles depending on your room:
- A slim wall-mounted bookshelf for a small bedroom
- A wide, low bookshelf that doubles as a TV unit in the living room
- A ladder-style bookshelf for a study corner
- A corner bookshelf that makes use of otherwise wasted space
Mixing open and closed sections also works well if you want to hide clutter while still displaying a few favourite books.
Common Mistakes to Avoid When You Build a Bookshelf
- Measuring only once instead of double checking
- Making shelves too wide without extra support
- Skipping the back panel to save material
- Using weak or too few screws
- Not checking that the frame is square before assembly
- Forgetting to anchor a tall unit to the wall
- Leaving plywood edges unfinished, which looks unfinished and wears faster
FAQs
1. Is it cheaper to build your own bookshelf?
Usually yes. DIY can reduce labour and customisation costs, but the final price still depends on the material, size, hardware, and finish you choose.
2. What is the best wood for a DIY bookshelf?
Plywood is a practical option for beginners since it comes in standard sheets and is easy to cut into panels. Solid wood is a good alternative if you prefer a natural wood finish and do not mind the extra cost.
3. How deep should a bookshelf be?
Around 25 to 30 cm works for most home bookshelves, but measure your largest books first before finalising the depth.
4. How thick should bookshelf shelves be?
Shelf thickness should match the shelf span and expected load. Longer shelves need thicker panels or extra support to avoid sagging over time.
5. Does a tall bookshelf need to be attached to the wall?
Yes, any tall, freestanding bookshelf should be secured with anti-tip wall anchors, particularly in homes with children or pets around.
Quick Tip 1: Measure your actual books before deciding on a shelf size. Do not design around a standard size that does not match what you own.
Quick Tip 2: Always finish exposed plywood edges. It gives the shelf a cleaner look and protects the panel from wear over time.
Building this bookshelf took me one full weekend, and it now sits exactly where my pile of books used to be, except now everything actually has a place. If you are planning your own build, take it one step at a time, measure carefully, and do not rush the finishing.
For more practical home and everyday guides like this one, visit Mindful Hive.