For years, I believed glass skin was a myth—a flawless, poreless complexion that only existed in K-beauty advertisements or Instagram filters. I had battled acne scars for eight long years, trying every product under the sun, from high-end serums to DIY home remedies. The thought of achieving smooth, glowing skin in just a few days seemed laughable. But curiosity got the better of me, and I embarked on a skincare experiment. To my surprise, not only was it possible, but I achieved noticeable results in just three days using natural, dermatologist-approved methods. Here is all about how to get glass skin in 3 days at home.
In this blog, I'll walk you through the exact process I followed. It's simple, effective, and based on personal experience, not marketing gimmicks. However, remember that everyone's skin is different—what works for me might not work for you. Always do a patch test before introducing new products or ingredients into your routine.
Understanding Glass Skin: More Than Just a Trend
Before we jump into the routine, let's get one thing straight: glass skin isn't about looking like a wax doll. It's about achieving a healthy, luminous glow through hydration, gentle care, and consistency. The term originates from Korean skincare, where "skin-first" is the philosophy. The focus is on maintaining a strong skin barrier, hydration, and a natural glow.
Why I Was Skeptical About Glass Skin
Like many, I associated glowing skin with genetics or expensive facials. My acne scars, uneven texture, and dry patches convinced me that "glass skin" was reserved for others. But after researching and consulting reliable sources, I discovered that hydration, exfoliation, and nourishment were the pillars of this skincare miracle.
My 3-Day Glass Skin Routine: Step-by-Step Guide
Day 1: Deep Cleansing & Gentle Exfoliation
The first day was all about creating a clean canvas for my skin.
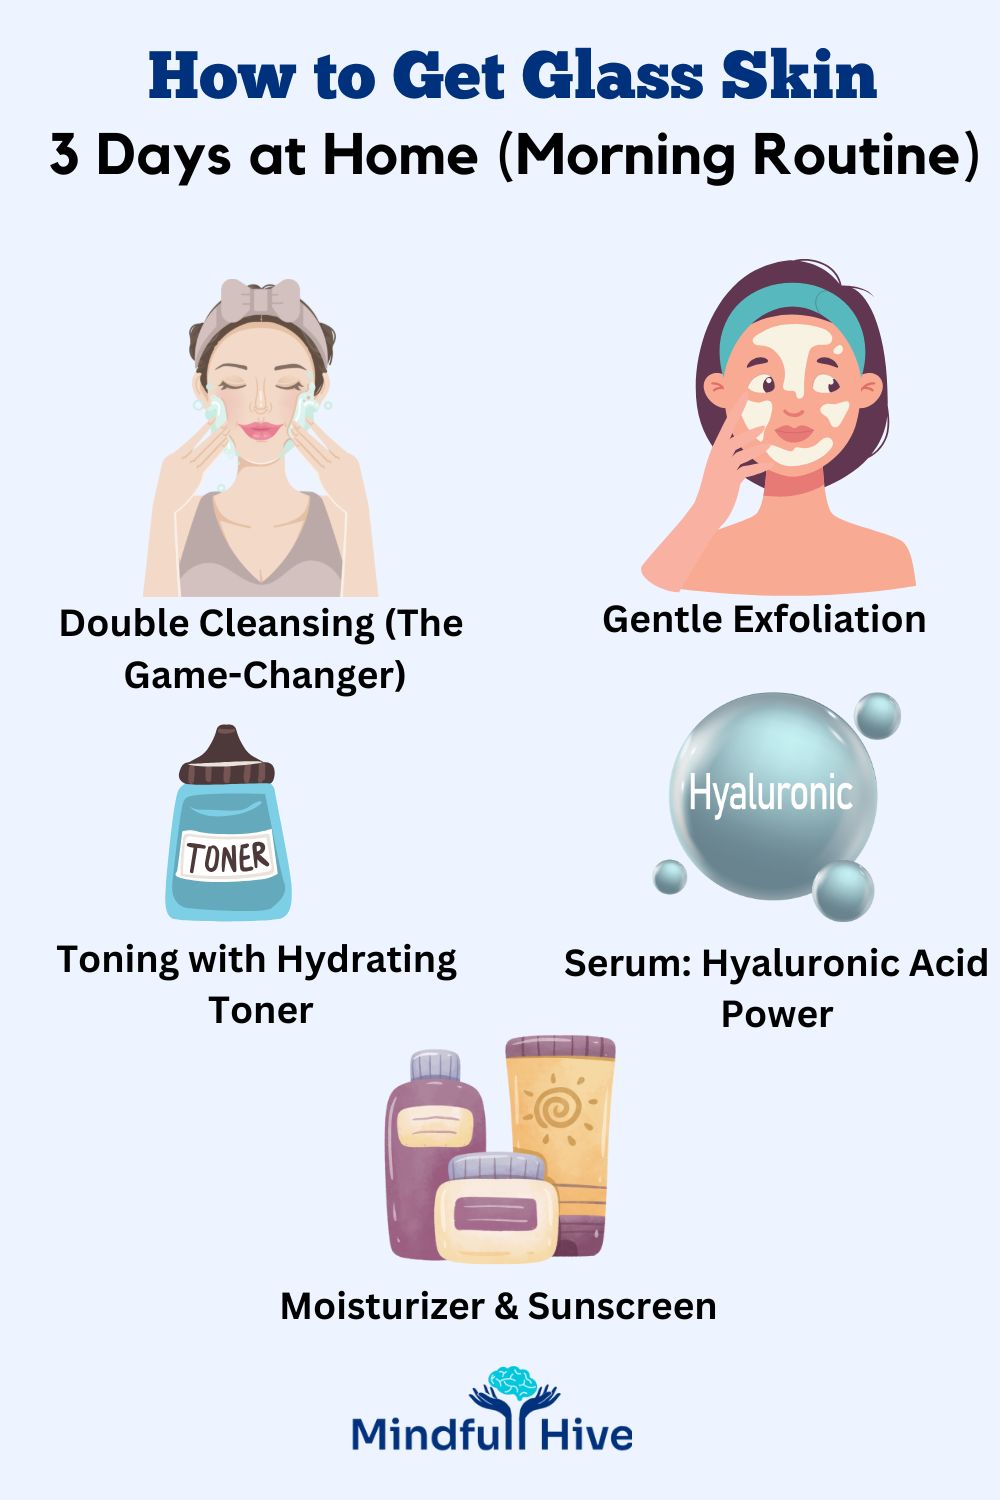
Morning Routine:
1. Double Cleansing (The Game-Changer)
- I started with an oil-based cleanser to melt away overnight sebum and impurities. My skin immediately felt smoother.
- Followed by a water-based cleanser to remove any residue.
2. Gentle Exfoliation
- I used a mild exfoliator with rice powder (never harsh scrubs) to slough off dead cells.
3. Toning with Hydrating Toner
- My skin drank up the toner like a desert in the rain. Hydrating toners balance the skin's pH and prep it for serums.
4. Serum: Hyaluronic Acid Power
- I applied a serum packed with hyaluronic acid, which instantly plumped my skin.
5. Moisturizer & Sunscreen
- Locked in all that goodness with a ceramide-rich moisturizer and SPF 50 sunscreen.
Evening Routine:
- Repeated the double cleansing.
- Applied a hydrating sheet mask with aloe vera and niacinamide.
- Finished with a rich night cream to aid overnight skin barrier repair.
My Reflection: That night, my skin felt softer but still looked dull. I reminded myself: patience is key.
Day 2: Hydration Overload
Hydration became my mantra on day two.
Morning Routine:
1. Double Cleansing (Non-Negotiable)
2. Hydrating Essence
- An essence with snail mucin and hyaluronic acid transformed my skin's texture.
3. Vitamin C Serum
- Added a vitamin C serum to brighten and even out my skin tone.
4. Moisturizer & Sunscreen
Evening Routine:
- After cleansing, I applied a homemade mask of honey and aloe vera—soothing and hydrating.
- Layered a peptide serum to boost collagen.
- Sealed everything with a ceramide-based night cream.
My Reflection: By the evening, I noticed a glow peeking through. My skin felt bouncier, and the scars seemed less pronounced.
Day 3: Locking in the Glow
The final day focused on sealing all the hard work.
Morning Routine:
- Double Cleansing
- Toning & Essence
- Vitamin C & Hyaluronic Acid Serum Combo
- Moisturizer & Sunscreen
Evening Routine:
- Followed the usual cleansing steps.
- Applied a sleeping mask with green tea and niacinamide.
- Used a jade roller to enhance absorption.
My Reflection: I woke up on day four and rushed to the mirror. My skin looked... different. Smooth. Radiant. The texture was far from perfect, but the glass-skin glow was undeniable.
Additional Tips for Long-Lasting Radiance
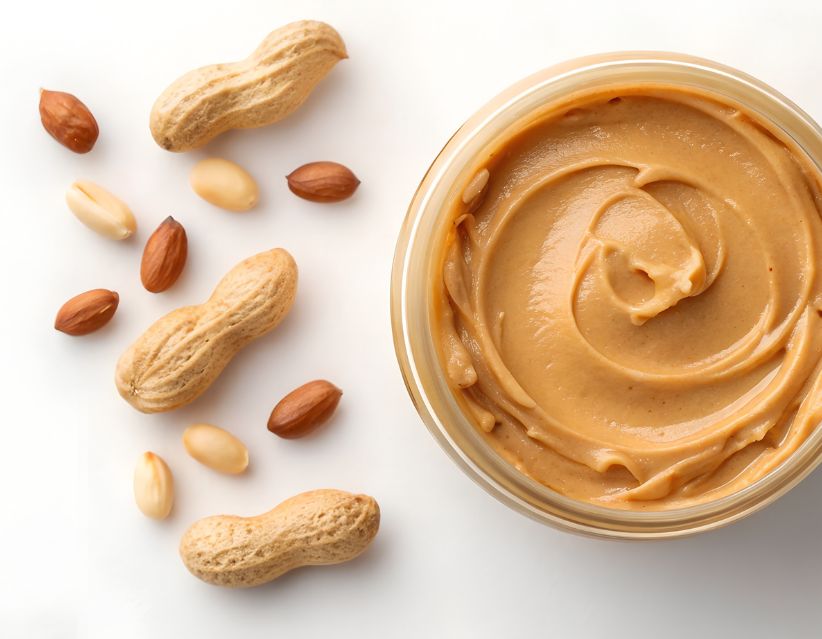
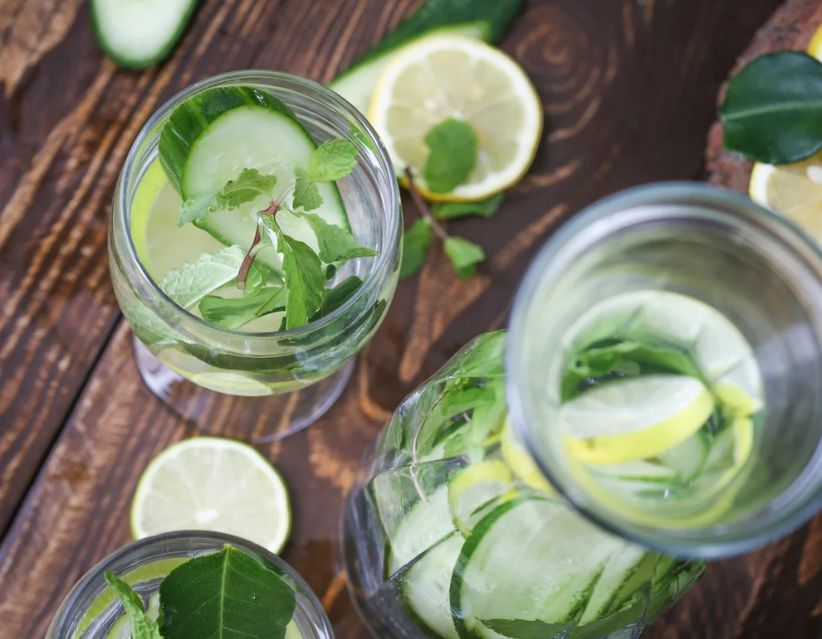
- Hydration is Key: Drink plenty of water and incorporate hydrating foods like cucumbers and watermelon.
- Diet Matters: Avoid excessive sugar and processed foods that can lead to breakouts.
- Get Enough Sleep: Your skin regenerates while you rest, so aim for 7-8 hours of quality sleep.
- Stress Less: Stress triggers breakouts and dull skin, so practice relaxation techniques like meditation or deep breathing.
- Be Gentle: Over-exfoliating or using harsh products can damage your skin barrier and hinder progress.
Common Mistakes I Made Early On (and You Should Avoid)
- Using harsh DIY remedies like lemon juice and baking soda.
- Skipping sunscreen, even on cloudy days.
- Over-exfoliating in desperation for quick results.
Disclaimer
This routine worked for me, but skincare is highly individual. Always test new products or ingredients on a small patch of skin before applying them to your face. If you have sensitive skin or pre-existing conditions, consult a dermatologist before making significant changes to your routine.
FAQs: Everything You Need to Know
1. Can I really get glass skin in 3 days?
A: Yes, noticeable improvement is possible, but achieving a flawless look requires long-term care.
2. What if I have acne scars like you?
A: Hydration and barrier repair significantly improve texture, though deep scars may need professional treatment.
3. Is the Korean glass skin routine safe for sensitive skin?
A: Yes, but choose fragrance-free, hypoallergenic products.
4. Can natural remedies help?
A: Absolutely! Ingredients like aloe vera and honey provide hydration and soothing effects.
5. How often should I exfoliate?
A: 2-3 times a week with gentle exfoliants. Overdoing it harms the skin.