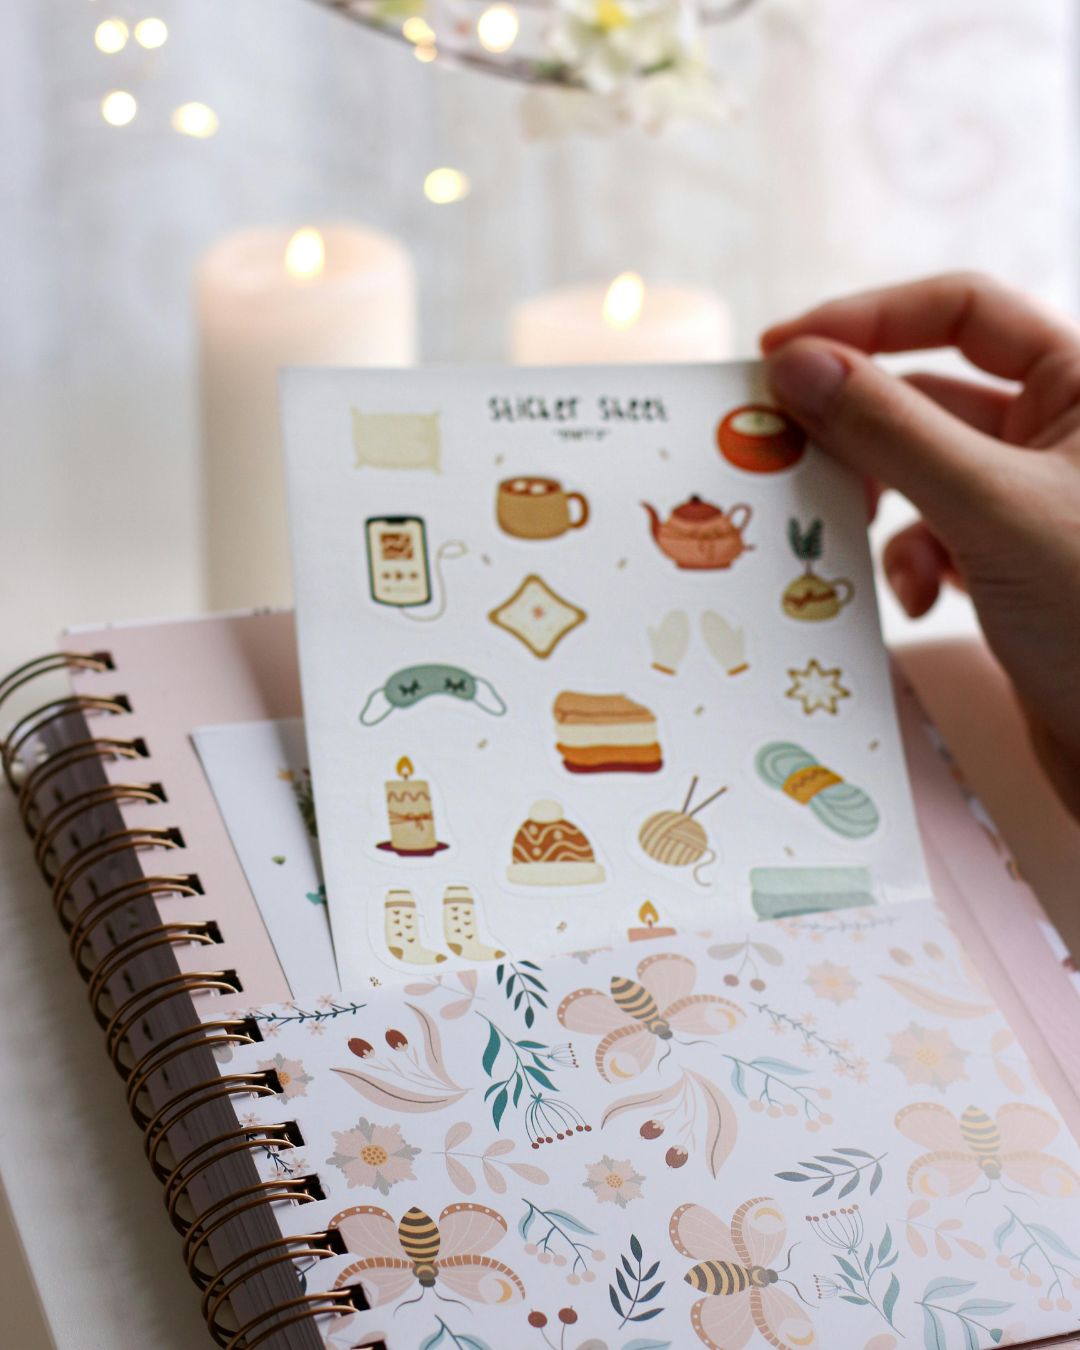
Making your own stickers at home with paper has completely transformed my weekends into fun, creative sessions that leave me feeling inspired and accomplished. As someone who’s always loved DIY projects and cherished every opportunity to create something unique, I’m excited to share my personal journey and tips on how to make stickers at home with paper. This guide is packed with my tried-and-true DIY paper stickers techniques, homemade sticker techniques, and ways of making stickers without a machine that let you effortlessly create custom stickers by hand. Whether you’re a student, a small business owner, or simply a DIY enthusiast, this blog is for you.
I remember when I first stumbled upon sticker-making tutorials online. I was curious and a bit intimidated by the polished, professional-looking designs. But, over time, I learned that even everyday materials—like the simple paper in your home—can be transformed into beautiful stickers. Today, I’m here to share not just step-by-step instructions but also personal tips, anecdotes, and creative hacks to make the process fun and accessible. So, let’s get started on this creative adventure!

What You’ll Need: Materials and Tools
Before diving into the creative process, it’s important to gather all your materials. When I started, I made sure to keep everything simple yet versatile, ensuring that even on a budget you can achieve amazing results. Here’s what you’ll need:
Basic Supplies for DIY Stickers
- Paper: Start with any sturdy paper or cardstock. For printable sticker designs, I often use high-quality paper that holds ink beautifully.
- Scissors: A good pair of sharp scissors is essential for smooth cutting techniques.
- Wax Paper: This is a must-have for making stickers without a machine since it prevents the tape from sticking to surfaces.
- Packing Tape: Transparent packing tape is my secret weapon—it works like magic for DIY adhesive labels.
- Clear Contact Paper: Great for a glossy, durable finish, making your stickers look professionally sealed.
- Design Templates: If you’re not confident in your freehand skills, design templates can help guide your artwork.
- Printable Images: For those who prefer digital designs, using printable images can make the process faster and more customizable.
Optional Tools for the Extra Creative Touch
- Printer: Ideal if you want to experiment with printable sticker paper and design multiple stickers quickly.
- Cutting Mat and Craft Knife: For those intricate designs where scissors just won’t cut it.
- Adhesive Sprays: If you’re looking to evenly distribute stickiness without the hassle of tape.
- Computer Software: Programs like Canva or Photoshop can help you create custom designs that truly reflect your personal style.
Using these supplies, you can try various homemade sticker techniques and even explore sticker paper alternatives if you’re feeling adventurous.
My Step-by-Step Guide to Making Stickers at Home
Let me walk you through my favorite methods for creating stickers at home. Over time, I’ve experimented with different approaches, and here are the techniques that have consistently delivered impressive results.
Method 1: Wax Paper and Packing Tape Technique
This method is my absolute favorite because it’s simple, cost-effective, and doesn’t require any fancy machines. I discovered it after reading several top-ranked blogs and even after watching some detailed Google AI overviews. Here’s how you can do it:
Steps to Create Your First Sticker
- Cut Out Your Image:
- Choose a design that inspires you. I like to use my own sketches or print out a digital design.
- Use scissors to carefully cut out your image. Neat cuts are key for a clean finish.
- Prepare the Wax Paper:
- Lay a sheet of wax paper on your work surface. This helps prevent the tape from sticking permanently to the table.
- Place a strip of clear packing tape sticky side down on the wax paper.
- Apply Your Image:
- Gently position your cut-out image onto the packing tape.
- Smooth out the design from the center outward to avoid any air bubbles.
- Seal with Another Layer:
- Place another piece of packing tape over your image, ensuring you leave a small border.
- Firmly press down to seal the image, eliminating any wrinkles.
- Trim the Sticker:
- Carefully cut around the image, leaving a small border.
- Peel away the wax paper backing to reveal your finished sticker.
Quick Tip 1:
For an extra crisp edge, try using a ruler and a craft knife instead of scissors. This small adjustment makes a big difference!
Method 2: Clear Contact Paper for a Glossy Finish
If you prefer a glossy, durable sticker, using clear contact paper is a fantastic alternative. This method is great for achieving a more polished look and extra protection.
Steps to Create Glossy Stickers
- Design and Print Your Image:
- Either draw your design or create one on your computer, then print it on quality paper.
- Prepare the Contact Paper:
- Cut a piece of clear contact paper that’s a bit larger than your design.
- Place your printed image face down on a clean, flat surface.
- Apply the Contact Paper:
- Carefully lay the contact paper over your image. Use a credit card or a similar tool to smooth out any bubbles.
- Trim the Sticker:
- Cut around your design, leaving a tiny border for extra durability.
- Peel off the backing of the printed paper to complete your sticker.
Quick Tip 2:
For intricate designs, a steady hand is key. If possible, invest in a cutting machine for those extra challenging shapes—but remember, hand cutting can be just as effective with a little practice.
Method 3: Printable Sticker Paper for Quick Production
For those busy days when you want to make multiple stickers quickly, printable sticker paper is the way to go. This method is especially handy if you’re working on a batch for personal projects or small business branding.
Steps to Create Stickers Using Printable Paper
- Design Your Sticker:
- Use your favorite design software or download a design template from online resources.
- Customize your design to match your style.
- Print Your Design:
- Load your printer with sticker paper.
- Print your designs directly onto the sticker paper, ensuring your settings are optimized for high-quality output.
- Seal Your Sticker (Optional):
- For extra protection, laminate your printed stickers or cover them with a layer of clear contact paper.
- Cut Out Your Stickers:
- Use scissors or a craft knife to cut along the outlines of your designs.
- Your stickers are now ready to peel off and use!
This method is perfect for those who want to achieve professional results quickly without spending too much time on intricate handwork.
Overcoming Challenges: Troubleshooting & Expert Tips
Even with detailed instructions, I encountered a few bumps along the way. Here are some common challenges and how I’ve learned to overcome them with a personal touch:
Common Hurdles and How to Beat Them
Air Bubbles Under the Tape
- Problem: Sometimes the tape traps air bubbles, ruining the smooth look of your sticker.
- Solution: Always use a flat edge (like a credit card) to press out bubbles, working from the center outward. This technique has saved me many times!
Sticker Not Sticking Properly
- Problem: A sticker that peels off too soon can be very frustrating.
- Solution: Make sure the backing is completely removed before applying the sticker. I sometimes add a light coat of adhesive spray to ensure extra hold.
Irregular Cuts
- Problem: Uneven or jagged edges can make your sticker look unprofessional.
- Solution: Use a ruler and a sharp craft knife for detailed cuts. Practicing with scrap pieces of paper first can help build confidence.
Faded or Blurry Designs
- Problem: Poor quality prints or design errors can lead to disappointing results.
- Solution: Always use high-quality, printable images and adjust your printer settings for better clarity. Experimenting with different papers can also lead to more vibrant stickers.
Enhancing Sticker Durability and Appeal
Sealing for Longevity
- Use Clear Contact Paper or Laminating Sheets:
Covering your stickers with these materials not only protects them from moisture but also gives them a sleek finish. - Experiment with Adhesive Sprays:
A light spray can sometimes be the secret to making your sticker last longer on various surfaces.
Experimentation with Materials
- Try Sticker Paper Alternatives:
Don’t be afraid to experiment with different kinds of paper. I’ve had surprising success using recycled paper or even textured paper for a unique look. - Mix Handmade Sticker Materials:
Combine different materials—like paper with a hint of fabric or foil accents—to add an extra layer of creativity to your stickers.
Every DIY project tells a story, and my journey with sticker-making is no different. I still remember the excitement of my first attempt and the satisfaction of overcoming every small challenge along the way.
From Frustration to Fulfillment
- Early Struggles:
My first few stickers were far from perfect. I’d struggle with misaligned layers, stubborn air bubbles, and uneven cuts. It was frustrating at times, but each mistake was a lesson that gradually honed my skills. - Small Wins:
The moment I finally created a sticker that looked exactly as I had envisioned was pure joy. Those little victories boosted my confidence and made every subsequent project even more rewarding. - Real-Life Application:
I started using my stickers to decorate my laptop, personalize notebooks, and even add a unique touch to gift wrapping. Sharing these creations with friends brought me a lot of positive feedback and even sparked a little sticker-trading community among us.
Embracing Community and Creativity
- Finding Inspiration Online:
I frequently browse blogs, social media, and even Google’s featured snippets for fresh ideas and techniques. Every new tip felt like a personal discovery that I couldn’t wait to try. - Learning Together:
Joining online communities and forums where people shared sticker-making tutorials and DIY hacks helped me overcome challenges and fueled my passion for creativity. - Sharing My Journey:
Documenting my progress in this blog isn’t just about providing instructions—it’s about connecting with you, sharing my personal story, and inspiring others to try something new without fear of imperfection.
Creative Uses for Your Custom Stickers
The fun of DIY sticker-making isn’t limited to crafting; it extends into countless creative uses. Here are a few ideas that have worked wonders for me:
Home and Personal Decor
- Laptop and Phone Stickers:
Use your custom stickers to add a splash of personality to your gadgets. - Journal and Scrapbook Accents:
Decorate your diaries, planners, and scrapbooks with personalized designs. - Gift Tags and Cards:
Handmade stickers make perfect embellishments for gifts, adding a unique, heartfelt touch.
Small Business Branding
- Logo and Product Stickers:
If you run a small business, custom stickers can serve as mini billboards for your brand. They’re great for packaging, promotional giveaways, or even as a creative business card. - Event and Promotional Materials:
Use stickers as part of your marketing strategy at events, or include them in your orders as a delightful surprise for your customers.
Educational and Informative Tools
- Learning Aids for Kids:
Create stickers with alphabets, numbers, or even fun shapes that can be used as interactive learning tools. - Event Badges and Name Tags:
Personalize events with custom stickers that double as unique name tags or badges.
FAQs: Your Sticker-Making Questions Answered
I often get questions about how to make stickers at home with paper, so here are some of my most frequently asked questions, answered in a friendly and straightforward manner:
FAQ 1: What Type of Paper is Best for Stickers?
- Answer:
- Use heavyweight paper or cardstock for durability.
- Printable sticker paper is a great option if you have a printer.
- Experiment with sticker paper alternatives like recycled paper for a unique texture.
FAQ 2: Can I Make Stickers Without a Printer?
- Answer:
- Absolutely! Hand-draw your designs or use design templates.
- The wax paper and packing tape method works perfectly for non-printed stickers.
FAQ 3: How Do I Avoid Air Bubbles When Applying Tape?
- Answer:
- Use a flat edge (like a credit card) and press slowly from the center outward.
- Make sure your workspace is clean and free of dust to prevent bubbles.
FAQ 4: What Can I Do if My Sticker Peels Off Prematurely?
- Answer:
- Ensure the backing is completely removed before application.
- If necessary, apply a light coat of adhesive spray to improve stickiness.
- Sealing the sticker with clear contact paper can also help.
FAQ 5: How Can I Create Long-Lasting Stickers?
- Answer:
- Seal your stickers with laminating sheets or clear contact paper.
- Store them in a cool, dry place away from direct sunlight.
- Experiment with various handmade sticker materials for added durability.
Final Thoughts: The Joy of DIY Sticker Making
Every time I sit down to create a new sticker, I’m reminded of the beauty of imperfection and the fun of experimenting with new ideas. How to make stickers at home with paper isn’t just about crafting—it’s about expressing your personality, embracing creativity, and sharing your passion with the world.
Embrace Your Unique Style
- Celebrate Imperfections:
Each sticker is a work of art, and the little mistakes make them uniquely yours. - Keep Experimenting:
Try new materials, adjust your techniques, and don’t be afraid to start over. Creativity is a journey, not a destination. - Share Your Story:
Whether it’s with friends, family, or an online community, sharing your creative process can inspire others and help you learn even more.
Looking Forward
I’m excited to see how you transform these ideas into your own creative masterpieces. Every project is a new opportunity to learn, grow, and express yourself. I hope my personal tips and experiences inspire you to take on this fun DIY adventure and discover the joy of making stickers that truly reflect your style.
Thank you for reading and joining me on this creative journey. I’d love to hear your feedback, so please leave your thoughts, questions, or even your own sticker photos in the comments below. Let’s keep the conversation going and inspire one another to push the boundaries of creativity!


