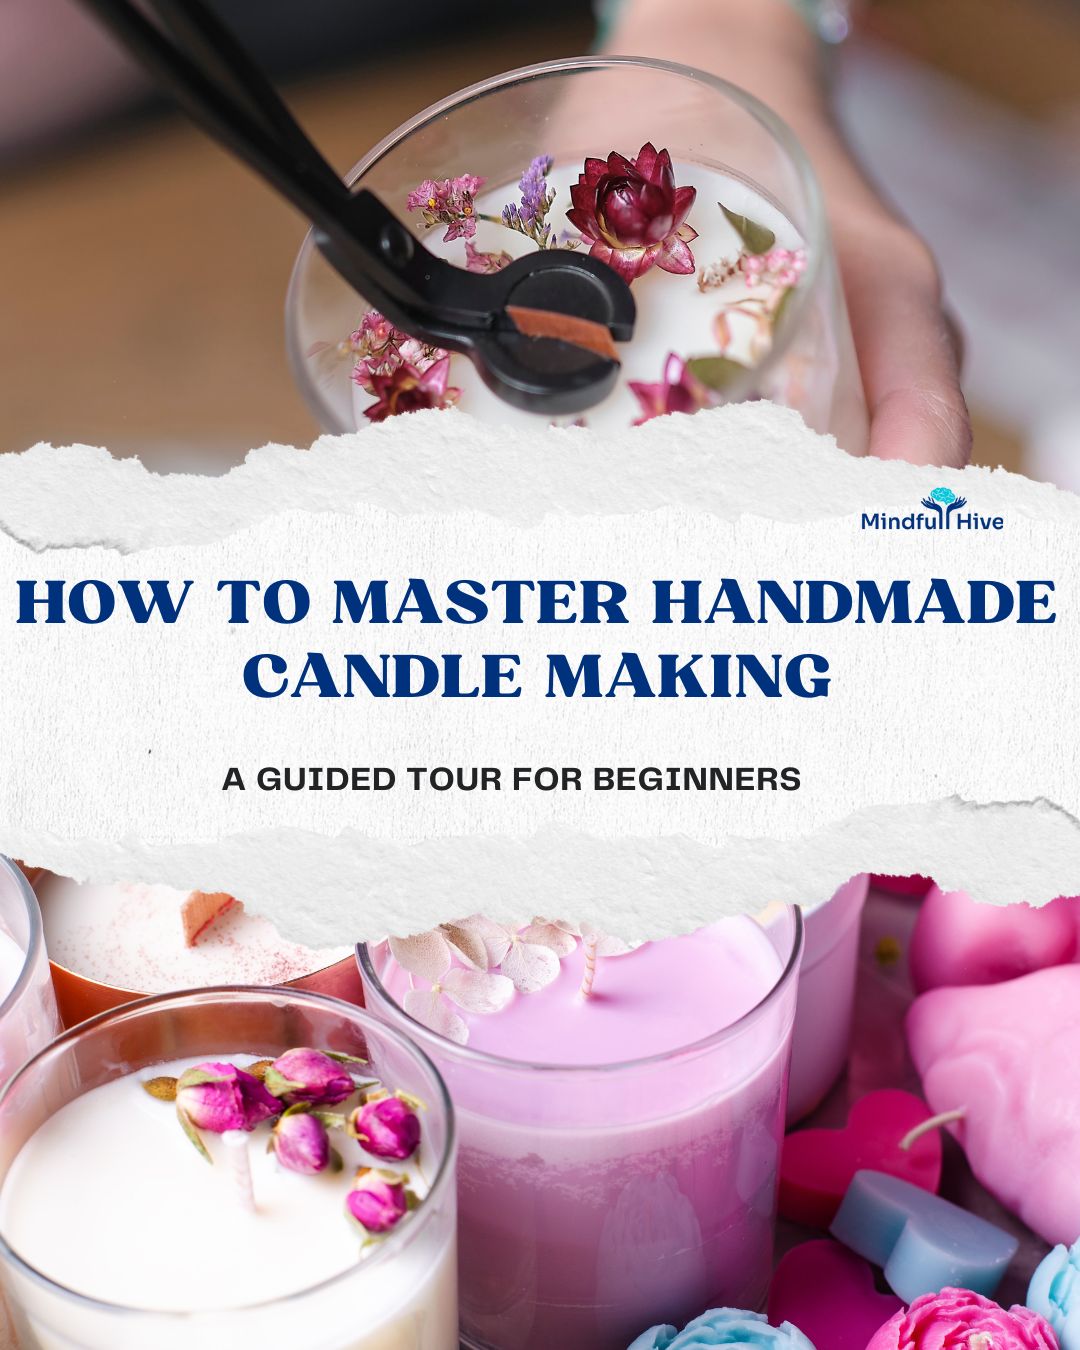
Creating your own candles is not just a fulfilling DIY project; it’s an art that allows you to express your creativity and enjoy something both beautiful and functional. In this guide, I will take you through every step of handmade candle making while focusing on using natural ingredients and creative design ideas. Whether you are a beginner or looking to refine your skills, this guide will make candle making an enjoyable and rewarding activity.
Why Choose Handmade Candle Making?
Handmade candles are more than just a source of light; they are a symbol of warmth, care, and personal expression. Creating your own candles gives you control over the materials used, enabling you to make environmentally friendly, safe, and customized products for yourself or as handmade gifts for loved ones. By making candles at home, you can save money, unleash your creativity, and even start a small business.
Additionally, using natural ingredients such as soy wax, beeswax, and essential oils for candles ensures your creations are safe for the environment and your home. The freedom to experiment with candle molds and tools, color customization, and unique scents makes this activity both engaging and deeply satisfying.
Essential Supplies for Candle Making
Before diving into the process, it’s important to gather the right tools and ingredients. Below is a comprehensive checklist to help you get started:
Tools and Equipment
- Heat-resistant containers (glass jars or tins)
- Double boiler or heat-safe melting pot
- Thermometer to monitor wax temperature
- Stirring sticks or wooden skewers
- Candle-making molds for creative designs
- Scissors for wick trimming
Ingredients
- Soy wax, beeswax, or paraffin wax (opt for natural options for eco-friendliness)
- Essential oils for candles (e.g., lavender, vanilla, or eucalyptus for a natural fragrance)
- Wicks (choose the right size for your container)
- Dyes or natural colorants (optional)
- Additives like dried flowers, herbs, or glitter for decoration
Pro Tip: Selecting the right materials is key to creating long-lasting and visually appealing candles.
Step-by-Step Guide to Making Candles at Home
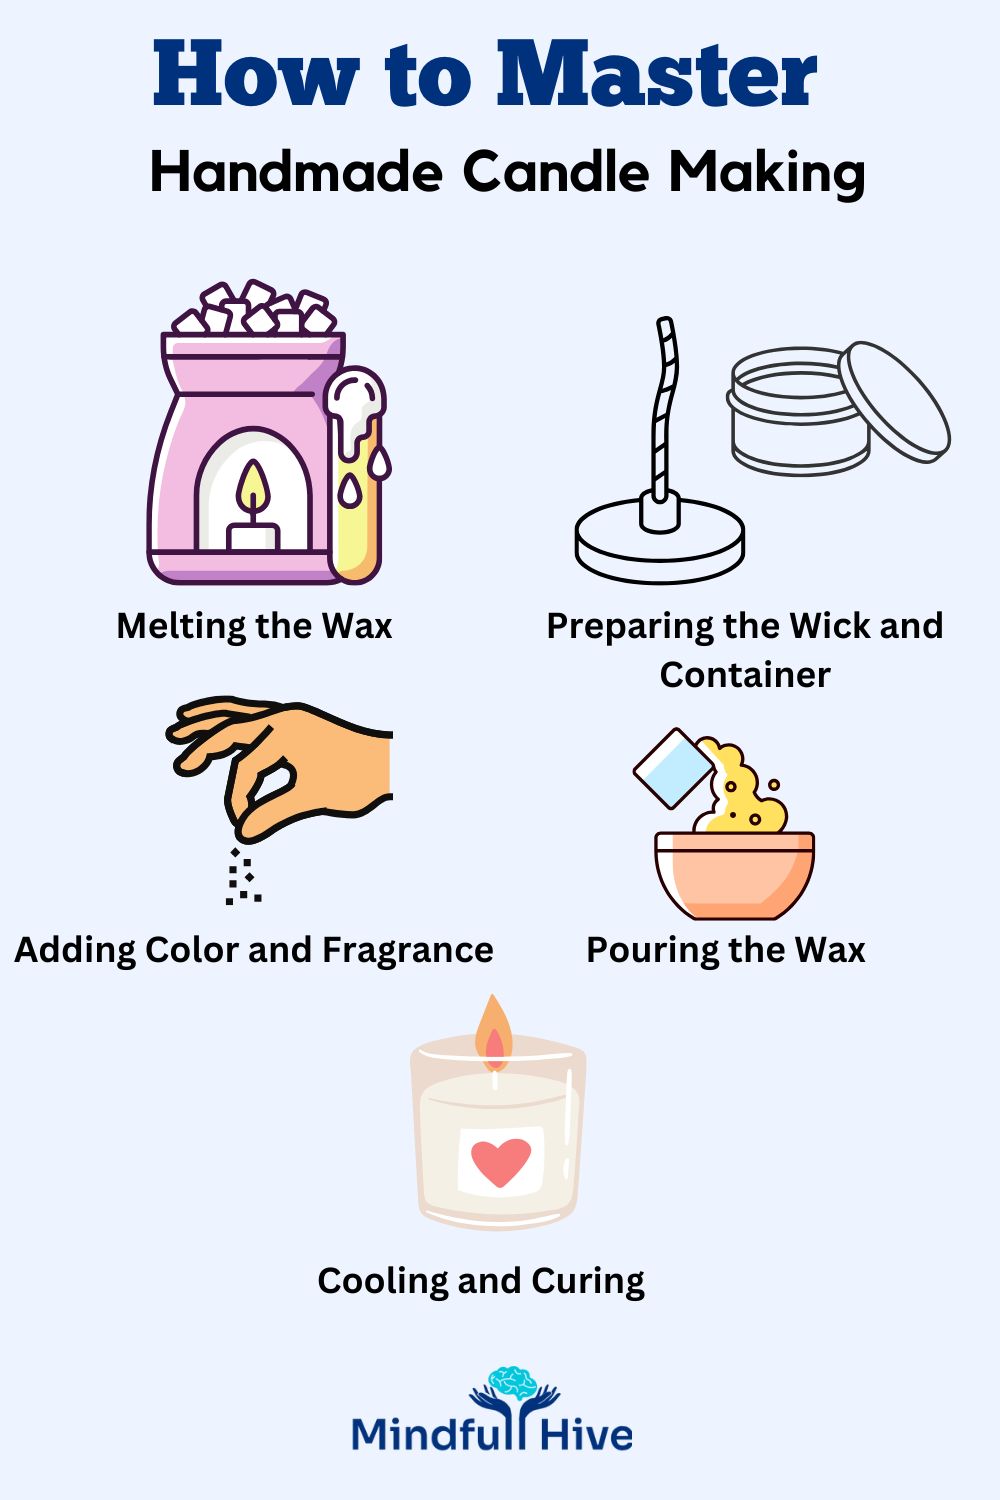
Step 1: Melting the Wax
- Use a double boiler to melt your chosen wax safely. This ensures even heating and prevents the wax from burning.
- Stir occasionally and monitor the temperature using a thermometer. The ideal melting temperature for most waxes is between 120°F and 180°F.
Pro Tip: If you’re using beeswax, mix it with a small amount of coconut oil to make it easier to work with. This step helps achieve a smooth, creamy texture for your candles.
Step 2: Preparing the Wick and Container
- Attach your wick to the center of your container using wick stickers or hot glue.
- Use a pencil or skewer to hold the wick upright by balancing it across the top of the container.
- Ensure that the wick is properly centered for even burning.
Quick Tip #1: The size of your wick depends on the diameter of your container. A wick that’s too small can cause tunneling, while one that’s too large can result in excessive smoking.
Step 3: Adding Color and Fragrance
- Once the wax has melted, allow it to cool slightly to about 130°F before adding fragrance oils or essential oils. This helps preserve the integrity of the scent.
- Add candle dye or natural colorants, such as mica powder, to give your candles a subtle or vibrant hue.
- Stir thoroughly to ensure even distribution of the fragrance and color.
Pro Tip: Use 1 ounce of fragrance oil for every pound of wax to achieve the perfect scent throw.
Step 4: Pouring the Wax
- Carefully pour the wax into your prepared container, leaving about half an inch of space at the top.
- Hold the wick upright and ensure it remains centered during pouring.
- Tap the container gently to release any trapped air bubbles.
Pro Tip: For layered candles, pour the wax in stages, allowing each layer to set before adding the next. This creates a beautiful gradient effect.
Step 5: Cooling and Curing
- Allow the candle to cool and set completely at room temperature. This process usually takes about 24 hours.
- Once the wax is solidified, trim the wick to about ¼ inch. This ensures a clean burn and prevents excessive soot.
Quick Tip #2: Avoid placing the candle in the refrigerator to speed up cooling, as this can cause cracks in the wax.
Creative Candle Design Ideas
Once you’ve mastered the basics, experiment with these creative candle-making ideas to elevate your designs:
Layered Candles
Pour wax in layers, allowing each to cool before adding the next. Use contrasting colors to create a stunning gradient effect.
Embedded Flowers
Add dried flowers or herbs to the container before pouring the wax. This creates a rustic, aesthetic look perfect for gifting.
Scent Blends
Combine complementary essential oils, such as lavender and citrus, to create unique fragrances tailored to your preferences.
Shaped Candles
Use silicone molds to create candles in fun shapes like stars, hearts, or geometric patterns. These are great for special occasions or seasonal decor.
Candle-Making Tips for Beginners
- Test Small Batches: Experiment with small amounts of wax and fragrance before scaling up to larger projects.
- Avoid Overheating Wax: Overheating can burn off fragrance oils and alter the wax’s consistency.
- Work in a Ventilated Area: This ensures safety and prevents strong odors from accumulating.
- Keep Safety First: Always have a fire extinguisher nearby and never leave melting wax unattended.
- Experiment Freely: The beauty of candle making lies in its versatility. Don’t hesitate to try new designs, colors, or fragrances.
FAQ Section
What type of wax is best for beginners?
Soy wax is ideal for beginners as it is easy to work with, eco-friendly, and produces a clean burn.
How much fragrance should I use in my candles?
For a balanced scent throw, use approximately 1 ounce of fragrance oil per pound of wax.
Can I use food coloring for candle making?
No, food coloring is water-based and not suitable for wax. Use candle-specific dyes or natural colorants.
How can I prevent my candle from tunneling?
Ensure the wick is the right size for the container and allow the candle to burn until the entire surface is melted during the first use.
How long should I let my candles cure before using them?
Let your candles cure for 24-48 hours to ensure the fragrance binds well with the wax.
Final Thoughts
Candle making is more than a hobby; it’s a journey of creativity, patience, and personal expression. By following this comprehensive guide, you can create stunning, natural handmade candles that reflect your unique style and personality. Whether crafting for relaxation, gifting, or even selling, the possibilities are endless. So, gather your materials, unleash your creativity, and let the warm glow of your handmade candles light up your space.
Happy candle-making!