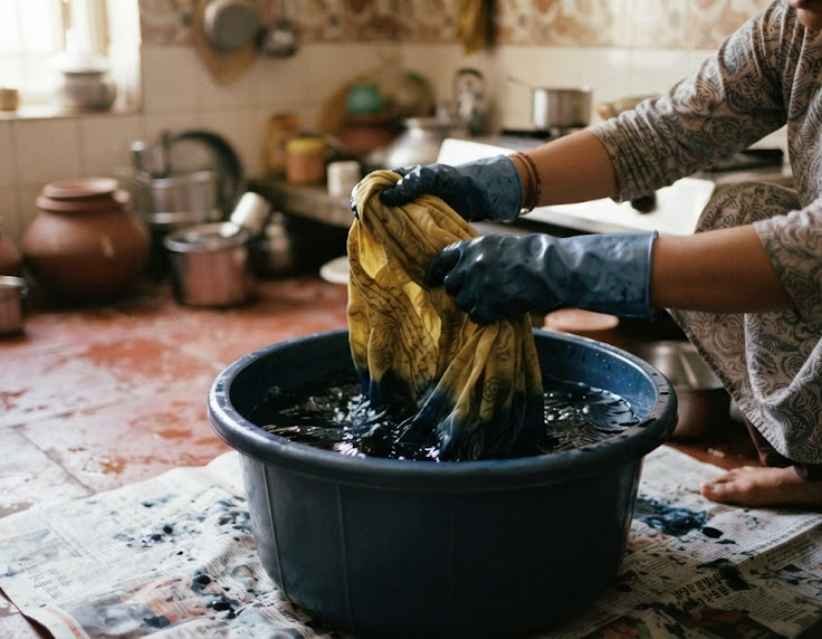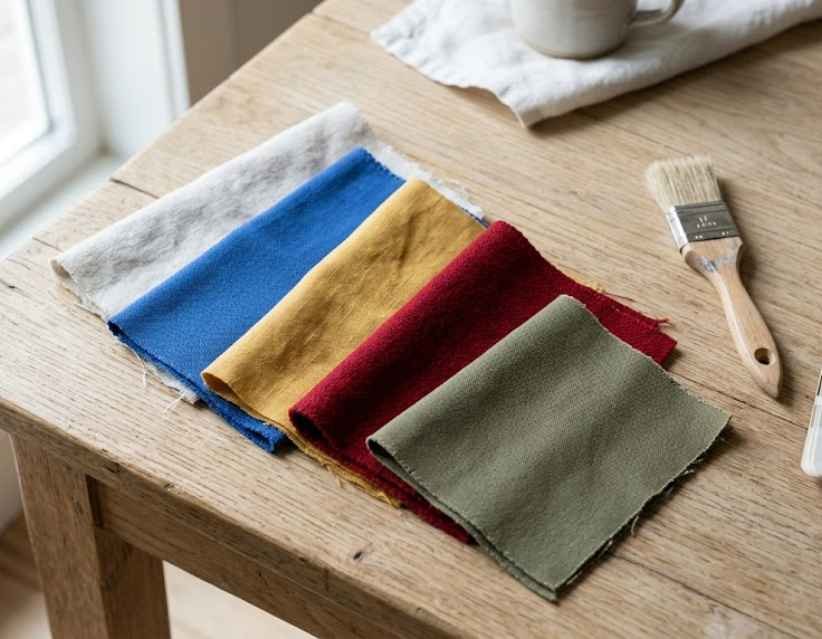

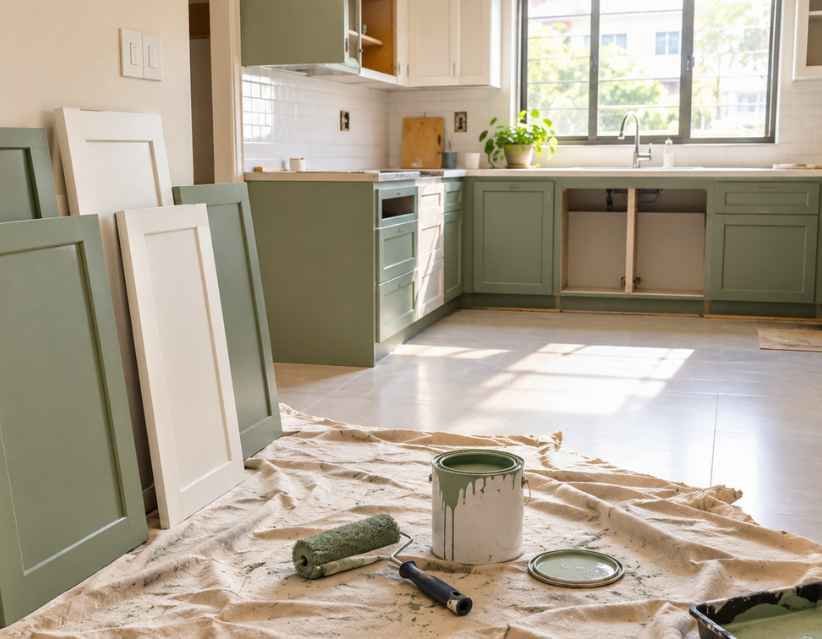
I still remember the exact evening I decided to paint kitchen cabinets on my own for the first time. I had just moved into my first rented flat, and the kitchen shutters were covered in old grease, chipped paint and years of neglect. I did not have a big budget for a full kitchen makeover, so I searched everywhere to learn how to paint kitchen cabinets myself, without hiring a carpenter or a professional painter. After a fair amount of trial, a couple of mistakes and too many YouTube videos, I finally got a finish that looked close to a proper job.
This guide is everything I wish someone had told me before I started. It covers wood, MDF, plywood, laminate and modular kitchen shutters, because most Indian kitchens are not made of just one material.
Modular kitchens are especially tricky, since the outer shutter might look like wood but is often plywood with a laminate or membrane finish over it. Figuring out what your cabinet is actually made of, before you pick up a brush, will save you from a lot of frustration later.
Quick answer: To paint kitchen cabinets, remove the doors and hardware, clean off grease, lightly sand the surface, repair any damage, apply a suitable primer, then add two thin coats of cabinet paint. Let each coat dry fully before reattaching the doors and hardware.
If you want the full breakdown, here is exactly what I did.
How to Paint Kitchen Cabinets Step by Step
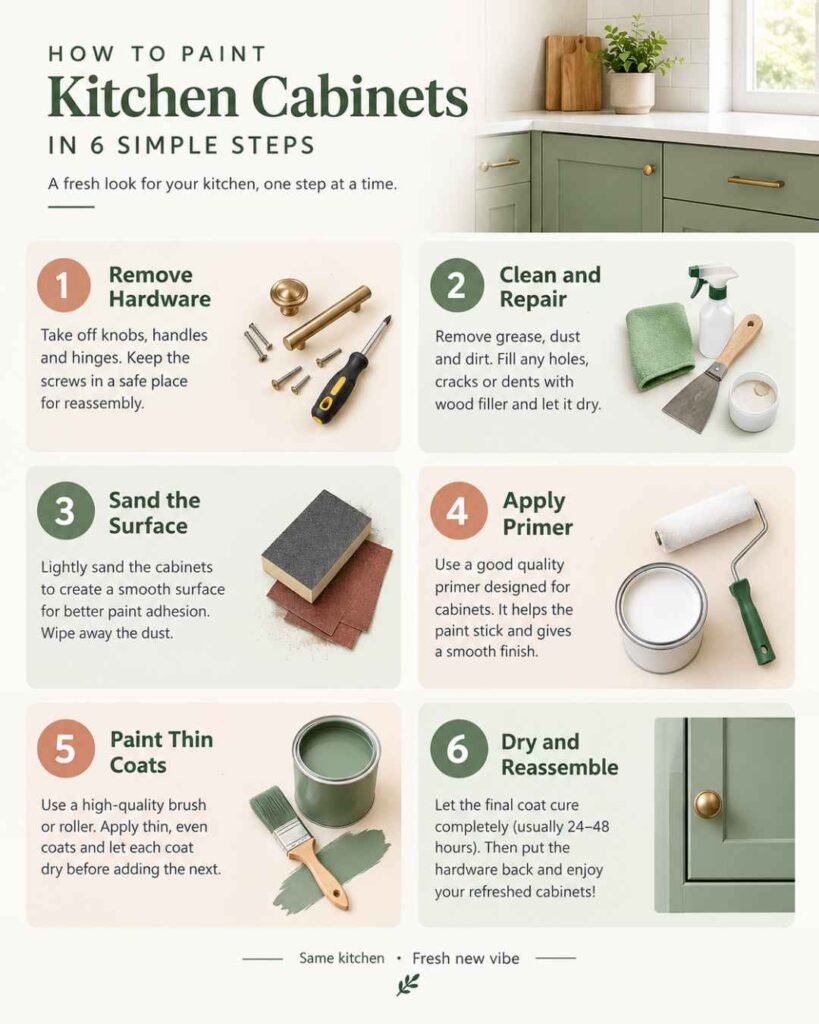
Before you touch a single door, it helps to slow down and plan the whole job in order. I skipped this the first time and ended up redoing two panels because I rushed the drying time.
What You Need Before You Paint Kitchen Cabinets
Here is the basic kit I gathered before starting:
- A screwdriver, to remove hinges and handles
- Painter's tape and a drop cloth, to protect the floor and walls
- A degreaser or a mild cleaning solution
- Sandpaper in a medium and a fine grit
- Wood filler, for dents and small holes
- A primer suited to your cabinet surface
- Cabinet or enamel paint
- A good brush and a foam roller
- A paint tray and a clean cloth or tack cloth
Buying everything together saved me multiple trips to the hardware shop halfway through the project. On a modest budget, painting existing shutters instead of replacing the whole kitchen is one of the most cost-effective upgrades you can make at home, and most of these supplies can be reused for future touch-ups too.
Step 1: Empty the Cabinets and Remove the Hardware
Take everything out of the cabinets first. Unscrew the doors, drawers and handles, and keep every screw in a labelled pouch. I used small ziplock bags and wrote the cabinet number on each one, which made reassembly so much easier later. Lay the doors flat on a drop cloth in a well-ventilated room or balcony, since you will be working on them separately from the fixed cabinet frame.
Step 2: Clean Grease and Repair Small Damage
Kitchen shutters collect grease faster than any other surface in the house. Wipe every panel with a degreaser and let it dry completely. While cleaning, check for dents, chipped edges or small holes, and fill them with wood filler. Sand the filled spots once they are dry so the surface feels smooth under your palm.
Step 3: Sand or Scuff the Cabinet Surface
A light sanding, sometimes called scuff sanding, removes the existing gloss and gives the primer something to grip. You do not need to strip the wood down. A quick pass with medium grit paper, followed by a finer grit, is usually enough. Wipe away all the dust with a tack cloth before moving forward.
How to Paint Laminate or Sunmica Kitchen Cabinets
Laminate and Sunmica shutters are extremely common in Indian kitchens, and they need a slightly different approach. Since laminate is smooth and non-porous, ordinary sanding will not help much. Instead, degrease the surface thoroughly, scuff it gently with fine sandpaper to remove the shine, then use a bonding primer made for laminate or similar surfaces. Skipping this step is the biggest reason laminate paint jobs peel within a few months.
Step 4: Apply the Right Primer
Primer is the step most people rush, and it is also the one that decides whether your paint lasts. A good primer seals the surface, blocks stains and helps the topcoat stick evenly.
Primer for Wood, MDF and Plywood Cabinets
For solid wood, MDF or plywood, a standard wood or bonding primer works well. Apply one thin, even coat and let it dry fully before sanding lightly again.
Primer for Laminate and PU Finished Cabinets
For laminate, membrane or a PU finish, choose a primer specifically labelled for these surfaces, or do a small test patch first. Some PU-coated shutters need extra prep, so check the product label carefully.
Step 5: Paint With Thin, Even Coats
Once the primer is dry, start painting. Use long, even strokes and follow the direction of the wood grain if there is one. Thin coats dry faster and look far smoother than one thick, heavy layer. I applied two coats on every panel, sanding very lightly between them with fine paper to knock down any bumps.
Step 6: Let the Paint Dry, Cure and Reassemble
Drying and curing are not the same thing. A coat may feel dry to the touch within a few hours, but the paint often needs several days to fully cure and reach its real hardness. Rushing this step is exactly how fresh paint gets scratched or dented. Follow the exact time mentioned on your paint can, then reattach the hardware and hang the doors back in place.
Best Paint, Common Mistakes and FAQs for Kitchen Cabinet Painting
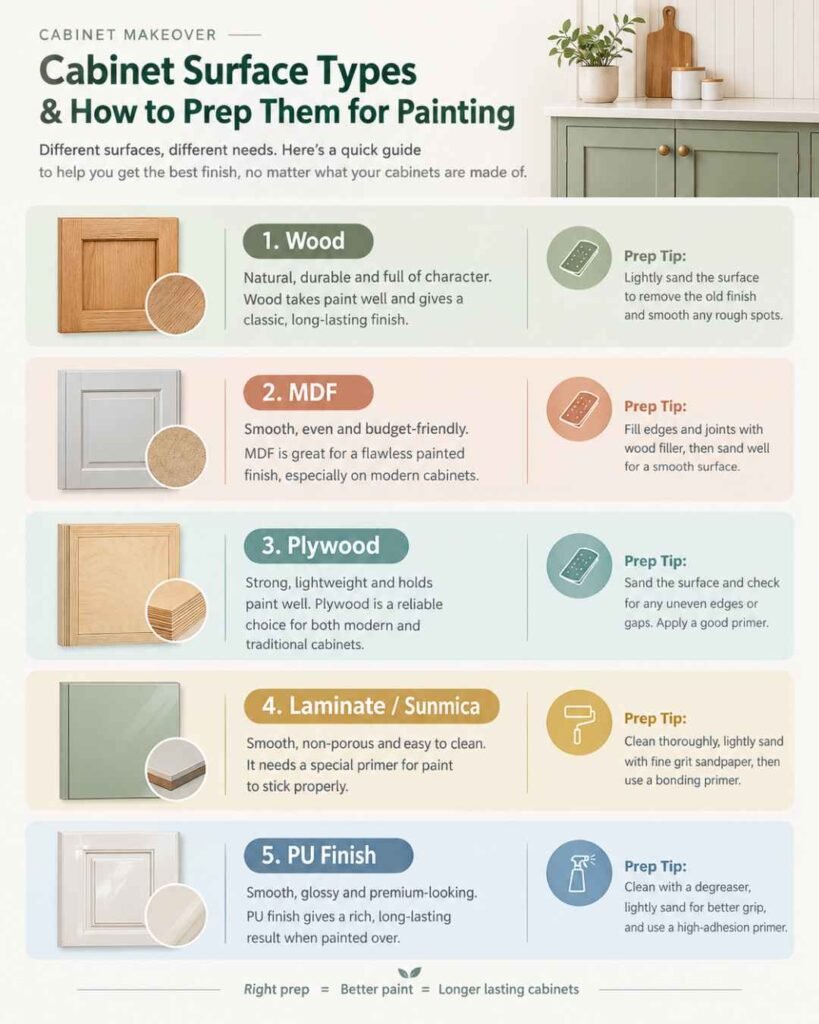
Once you understand the steps, the next big decision is choosing the right product and avoiding the mistakes that ruin an otherwise good paint job.
How to Choose the Best Paint for Kitchen Cabinets in India
There is no single universal answer here, since it depends on your cabinet material.
- For wood or MDF, pick a coating made for furniture or cabinets, paired with a matching primer.
- For plywood, use a durable topcoat along with a wood primer.
- For laminate or Sunmica, prioritise a bonding primer and a paint designed for smooth, non-porous surfaces.
- For a PU finish, treat it as a specialised coating and always test a small area before committing to the whole kitchen.
You may come across several Indian paint brands offering wood, enamel and PU ranges. Whichever one you pick, follow the exact technical instructions printed on that specific product, since drying times and application methods can differ.
Satin vs Semi-Gloss Finish for Kitchen Cabinets
Between the two, satin gives a soft, low-shine look that hides minor imperfections well, while semi-gloss is easier to wipe clean and holds up better against daily splashes and fingerprints. In a busy kitchen, semi-gloss is usually the more practical choice.
Common Mistakes When You Paint Kitchen Cabinets
A few small errors are responsible for most failed paint jobs I have seen or made myself:
- Skipping the degreasing step and painting over grease
- Ignoring primer, especially on laminate or glossy surfaces
- Applying one thick coat instead of two thin coats
- Reattaching doors before the paint has fully cured
- Treating every cabinet material the same way, even laminate and PU finishes
Avoiding these five mistakes will solve most of the peeling, chipping and uneven colour problems that show up later.
How to Maintain Freshly Painted Kitchen Cabinets
The work does not end once the paint dries. A little care in the first few weeks decides how long the finish actually lasts. Avoid wiping the cabinets with harsh chemical cleaners right away, and stick to a soft cloth with mild soapy water instead. Keep heavy pots and pans away from freshly painted shelves until the coat has fully cured, since even a small scrape can leave a mark on paint that has not hardened completely. If you notice steam building up near the stove-side cabinets, wipe it off soon after cooking rather than letting moisture sit on the surface. In humid regions, giving the kitchen some ventilation while cooking also protects the new finish for much longer. I learned this the hard way after leaving a wet cloth on one shelf overnight and finding a faint water mark the next morning.
A quick monthly wipe-down and a gentle hand near the hinges and handles is really all a well-painted cabinet needs after that.
My Quick Tips After Painting My Own Kitchen Cabinets
Quick Tip 1: Label Every Door and Cabinet
Before removing any hardware, number each door and its matching cabinet with a small piece of tape. It sounds unnecessary until you are staring at ten identical panels and cannot remember which one goes where.
Quick Tip 2: Test the Primer and Paint on One Panel First
Always paint one inconspicuous panel, like the inside of a cabinet, before doing the entire kitchen. This tells you how the colour looks once dry and whether the primer is compatible with your surface.
FAQs About How to Paint Kitchen Cabinets
Can you paint kitchen cabinets without sanding?
Yes, but it depends on the existing coating. For most glossy or laminate cabinets, at least a light scuff sanding improves adhesion, though some specialised low-prep products exist. Always check the manufacturer's instructions.
What is the best paint for kitchen cabinets in India?
Choose a durable coating made for cabinets or furniture rather than regular wall paint. The right pick depends on whether your cabinets are wood, MDF, plywood or laminate.
Can I paint laminate or Sunmica kitchen cabinets?
Yes. Clean the surface well, scuff it lightly and use a bonding primer made for laminate before applying your topcoat.
How many coats of paint do kitchen cabinets need?
Two thin coats are a reasonable starting point for most surfaces, though some products may need an additional coat. Let each coat dry fully before adding the next.
Why is my cabinet paint peeling?
Poor surface preparation is usually the main cause. Grease, leftover gloss, a missing or wrong primer, and insufficient curing time can all lead to paint peeling off soon after application.
More Home and Lifestyle Reads
If this project got you into a home improvement mood, you might enjoy planning a full 7-day healthy eating plan for the week you spend painting, or reading up on the 7 habits of highly effective people to stay consistent with DIY projects like this one. If the paint fumes leave you a little under the weather, this list of cough syrups for adults may come in handy, and once the kitchen is done, treat yourself to something simple like strawberry benefits or a spoon of peanut butter while you admire the new cabinets. And if the whole project keeps you up later than planned, here is how to sleep 8 hours in 4.
Painting my own kitchen cabinets taught me that the process matters far more than any single product on the shelf. Once you know how to paint kitchen cabinets the right way, from cleaning and primer to the final cured coat, the actual painting becomes the easy part. For more practical home improvement ideas like this one, explore MindfullHive.